2011 Honda CBR250R Fork Alignment...
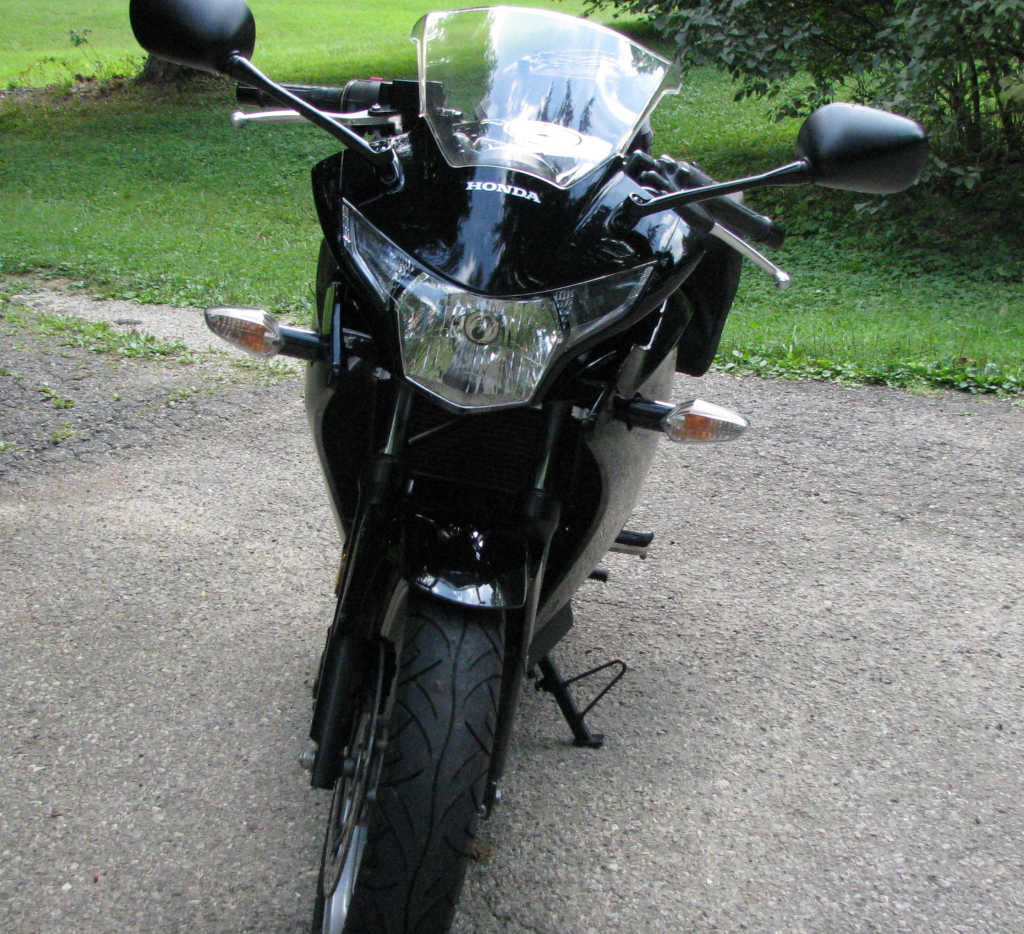
Although the previous owner never said, it was obvious this bike had been dropped or crashed. The forks were way out of alignment and the right side of the fairing had been badly painted to cover up some damage. The bike ran and rode good though, and I was confident that I could sort out any un-seen problems.
It's a common issue for front forks to get slightly twisted or out of alignment, especially if the bike has taken a minor spill, hit a pothole hard, or even just from improper tightening after maintenance. The good news is that for minor misalignments, it's usually a straightforward fix without needing special tools beyond your basic wrench set and a torque wrench.
The method I use relies on the forks' natural tendency to align themselves when the clamping forces are relaxed. It's not a hard process but it can invole loosening alot of bolts!
Support the Rear End:
- Lift the rear of the motorcycle until the rear wheel is completely off the ground. This hold the bike upright and allows the forks to move freely.
Loosen the Key Bolts (Carefully and in Order):
- Loosen the stem nut: This is the large nut between the forks in the center of the upper triple clamp. Loosen the nut just enough for movement, (finger tight).
- Loosen the front axle bolt(s): This is the large bolt that goes through the wheel hub. If your bike has pinch bolts on the bottom of the fork legs that clamp the axle, loosen those first.
- Loosen the lower triple tree pinch bolts: These are the bolts on the lower triple clamp that clamp around the fork tubes. There are usually two per fork leg. Loosen them enough so the fork tubes can rotate, but not so much that they can slide up or down easily.
- Loosen any fender mounting bolts: Sometimes the front fender can contribute to binding if its mounts are clamped tightly to the fork legs. Loosen these if applicable.
- Loosen brake caliper mounting bolts (optional but recommended for a thorough alignment): Loosen the bolts that mount your brake calipers to the fork legs. This ensures the calipers aren't exerting any twisting force.
Important Note: You are loosening, not removing, these bolts. The goal is to allow everything to move and settle into alignment.
Encourage Alignment:
- "Pump" the front forks: With all the relevant bolts loosened, stand in front of the bike and firmly push down on the handlebars several times, compressing the front suspension. This action helps the fork tubes, axle, and triple clamps settle into their natural, aligned position. You might hear some small creaks or shifts as things realign.
- Check alignment by eye: After pumping, visually inspect the front end. Is the wheel straight with the handlebars and the rest of the bike? Look down the forks from the front. They should appear parallel. You can also try to "sight" along the fork tubes from the side to ensure they are at the same height in the triple clamps.
Re-tighten the Bolts (Critical Step - Follow Torque Specs!):
- Start from the top and work down, or follow your service manual's specific order.
- The stem nut: Just snug down at first, and then come back and torque to spec.
- Lower triple tree pinch bolts: Snug these down, then torque to spec.
- Brake caliper mounting bolts (if loosened): Snug and torque to spec.
- Front fender mounting bolts (if loosened): Snug and torque to spec.
- Front axle bolt(s) and axle pinch bolts: This is particularly important.
Here is a great video to watch. It's often easier when you can see what's going on durning the process...
As always, if you are not comfortable doing your own repairs, please take your motorbike to a qualified mechanic.
Ride safe & take care - Dennis